
Interface colors of the Heliciel software: light, dark or custom theme
You change the colours of the Heliciel interface from the View/Lang menu, Interface Color entry: light theme, dark theme, or a custom colour picked in a colour chart. Heliciel remembers your choice, and can also set the gradient of the 3D view background. These settings serve two purposes: working without eye strain on a propeller or wing project, and producing screenshots that look good when shown to the people involved in the project.
In this page:
- Why change the interface colours
- Choosing a light, dark or custom theme
- The colour chart: picking a colour and its complements
- Setting the gradient of the 3D view background
- Three examples of the result
1 : Why change the interface colours
When we work for several hours on a propeller or wing construction project, the colours on the screen can bother and tire us. A dark background suits a dimly lit room, a light one a bright office: it is up to you to decide what rests your eyes.
There are also the screenshots. They are often shown to the people involved in the project (client, workshop, design office), and their design can be polished for a better presentation. Choosing the interface colours lets you adapt the software to your taste, for yourself as well as for your drawings and performance reports.
2 : Choosing a light, dark or custom theme
The choice is made in the View/Lang menu, Interface Color entry. Three options are available:
- Light: Heliciel sets the default interface colour and the original 3D background gradient;
- Dark: Heliciel sets a dark interface colour and the 3D background gradient of the dark theme;
- Custom...: Heliciel opens the colour chart, and the colour you pick becomes the interface colour. The 3D view background is not changed in this case.
The menu ticks the entry that matches the actual state: if your colour is neither the light nor the dark one, « Custom... » is ticked. Cancelling in the colour chart changes nothing.
3 : The colour chart: picking a colour and its complements
The Swatches and complementary colors window offers a palette of named colours, which you can also sort alphabetically with the alphabetical list box. Clicking a colour shows it in the Selected Color frame, with its red-green-blue and hue-saturation-brightness components.
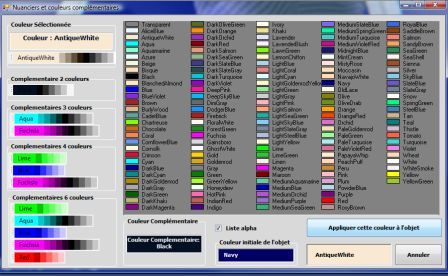
The colour selection window: on the left the selected colour and its complementary sets of 2, 3, 4 and 6 colours, in the centre the palette of named colours, at the bottom the initial colour of the object with the « Apply this color to the object » and « Cancel » buttons.
Complementary colours by 2, 3, 4 or 6 help you build a balanced interface: one dominant colour, with shades that do not clash with it. The initial colour of the object stays displayed at the bottom, so you can compare before applying. The apply button confirms, the cancel button abandons.
4 : Setting the gradient of the 3D view background
The background of the 3D view is a gradient between two colours. The View/Lang menu, 3D background gradient entry, offers three commands: Top colour... and Bottom colour..., which each open the same colour chart, and Restore default gradient. With the dark theme, the default gradient is the one of the dark theme. This setting matters for captures of the 3D view: you choose the contrast between the background and the blade before producing your images.
5 : Three examples of the result
As for tastes and colours... here are three renderings of the interface.
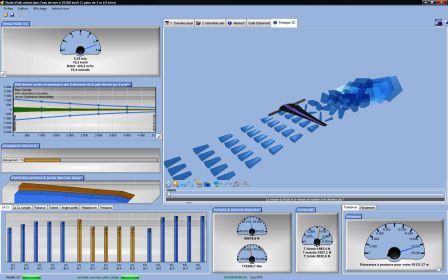
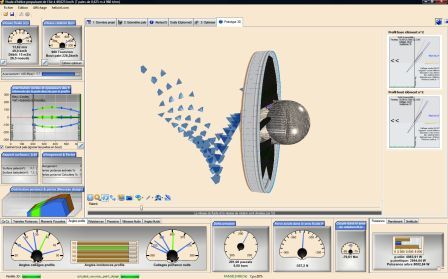
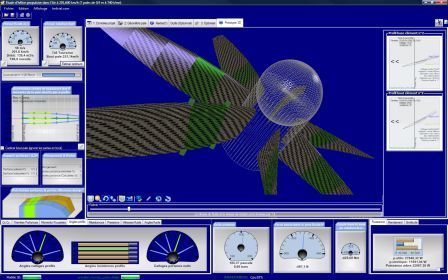
The same interface in three tints: light blue for a wing study, a light tint for a fan propeller, navy blue for an aircraft propeller.
To go further, we can walk through the whole Heliciel interface, or look at how the 3D view is set and exported: 3D modelling of propeller blades and wings.
 Global site map
 Mecaflux
 Tutorials Mecaflux Pro3D
 Tutorials Heliciel
 Tutorials Heliciel PRO CFD
 Mecaflux Store
 Compare software functions
 Quotes, Orders, Payment Methods
 project technical studies